

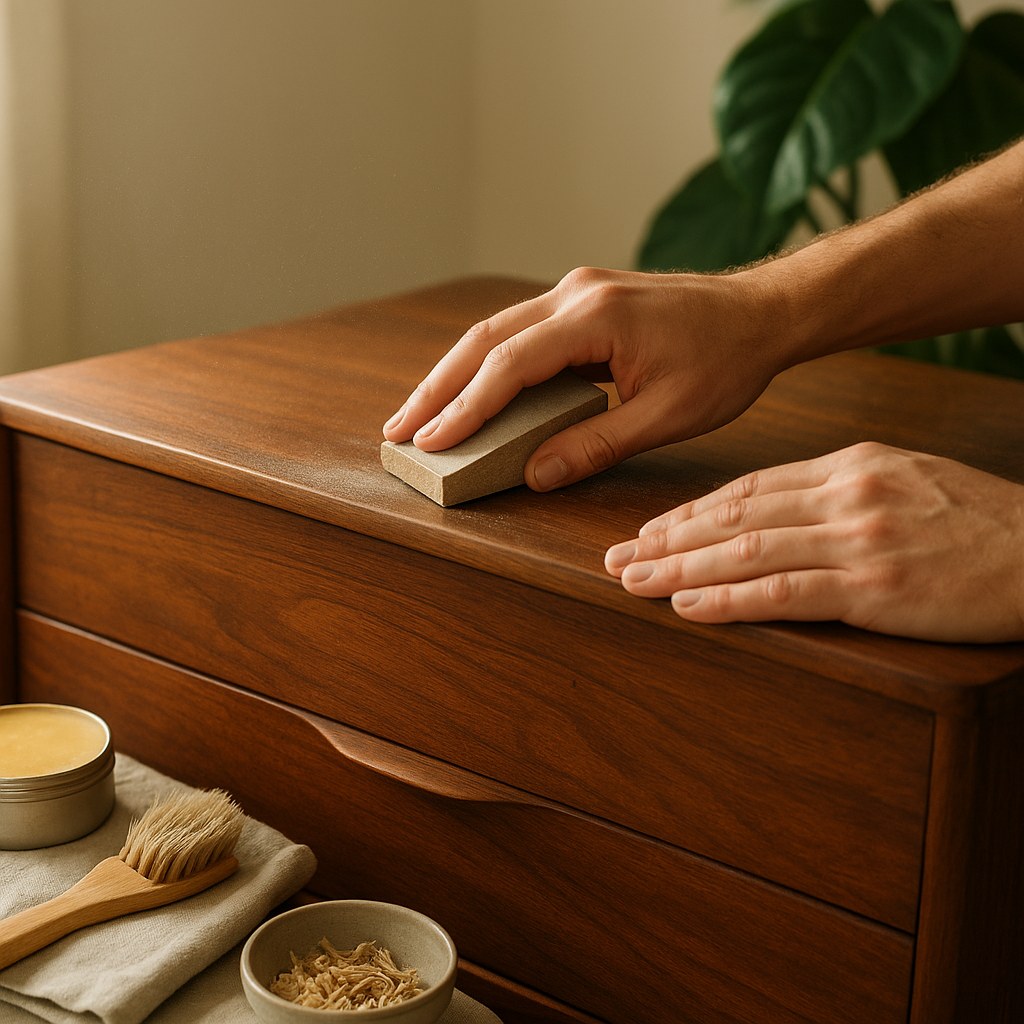
There’s something quietly satisfying about rescuing a piece of furniture that’s seen better days. Maybe it’s a mid-century dresser with original brass pulls hiding under layers of chipped paint, or a farmhouse table whose scratches tell stories of family dinners stretching back decades. Restoring vintage furniture isn’t just a hobby—it’s a meaningful way to create sustainable decor that actually lasts, while keeping quality craftsmanship out of landfills.
The appeal goes deeper than saving money (though that’s certainly part of it). When you restore rather than replace, you’re choosing character over cookie-cutter design, durability over disposability, and environmental responsibility over convenience. The furniture industry generates over 12 million tons of waste annually in the United States alone, with much of it ending up in landfills where it can take decades to decompose. Every piece you rescue and restore is one less contribution to that staggering statistic.
Why Vintage Furniture Restoration Matters for Sustainable Living
The environmental case for restoration is compelling. Manufacturing new furniture requires harvesting timber (often from unsustainable sources), processing materials with energy-intensive methods, and shipping products across continents. A single new wooden chair can carry a carbon footprint of over 150 pounds of CO2 when you factor in production and transportation. Restoring an existing piece? You might use a fraction of that in sandpaper, finish, and elbow grease.
But sustainability isn’t just about carbon calculations. Vintage furniture was often built to standards that mass-market retailers abandoned decades ago. Solid wood construction, dovetail joints, and hand-finished details mean these pieces were designed to last generations, not just until the next trend cycle. A 1950s teak credenza or a 1920s oak wardrobe has already proven its durability—it just needs a little help to look the part again.
There’s also the matter of materials. Older furniture frequently uses hardwoods like mahogany, walnut, and oak that are now expensive, rare, or harvested unsustainably. That “old junk” at the estate sale might feature wood quality you’d pay thousands for in a new piece—if you could even find it.
Getting Started: Finding Furniture Worth Restoring
Not every piece deserves your time and effort. The best candidates for restoration share a few key characteristics: solid wood construction (not particleboard or MDF), sturdy joints that haven’t completely failed, and bones that suggest quality craftsmanship. Look for dovetail drawers, mortise-and-tenon joints, or maker’s marks that indicate the piece came from a reputable manufacturer.
Where to Source Vintage Pieces
Estate sales often yield the best finds—quality furniture priced to move quickly, with less markup than antique stores. Arrive early for the best selection, but circle back near closing time when sellers become more flexible on prices. Thrift stores, Facebook Marketplace, Craigslist, and Habitat for Humanity ReStores all offer hunting grounds for restoration projects, each with their own rhythm and pricing structure.
Don’t overlook curbside finds, especially in older neighborhoods during bulk pickup days. That water-ringed side table or chair with a loose leg might look rough, but structurally sound pieces with cosmetic damage are restoration gold. The work is mostly surface-level, and the price is unbeatable.
Red Flags to Avoid
Skip pieces with active woodworm or significant pest damage (look for tiny holes and fine sawdust), severe water damage that’s caused warping or mold, or veneer that’s extensively chipped and peeling. Particleboard and MDF furniture rarely justifies restoration effort—these materials don’t sand or refinish well, and they lack the durability that makes vintage pieces worthwhile.
Be realistic about your skill level too. A wobbly chair with loose joints? Manageable for beginners. A piece with broken legs, missing sections, or intricate marquetry damage? That might be a project for later, once you’ve built your skills on simpler restorations.
Essential Tools and Materials for Furniture Restoration
You don’t need a professional workshop to get started. A basic restoration toolkit includes:
- Sandpaper in multiple grits (80, 120, 220) for stripping old finish and smoothing surfaces
- Chemical stripper for stubborn finishes or intricate details where sanding isn’t practical
- Wood filler for repairing dents, gouges, and small holes
- Quality brushes and rags for applying finishes cleanly
- Wood glue and clamps for repairing loose joints
- Safety equipment including gloves, safety glasses, and a respirator for chemical work
For finishes, you have options depending on the look you want. Danish oil and tung oil penetrate wood for a natural, hand-rubbed appearance that highlights grain patterns. Polyurethane provides durable protection for high-use surfaces like tabletops. Wax offers a soft sheen and traditional feel, though it requires more maintenance. Milk paint and chalk paint let you add color while preserving or enhancing vintage character.
Step-by-Step Restoration Techniques That Work
Every piece tells you what it needs if you pay attention. Start with thorough cleaning—decades of grime, furniture polish buildup, and mystery stains can obscure beautiful wood underneath. A solution of mild soap and water handles surface dirt, while mineral spirits cut through old wax and polish residue.
Stripping Old Finish
Sometimes cleaning reveals perfectly good finish that just needed attention. Other times, you’ll find cracked varnish, water damage, or multiple layers of paint that need removal. Chemical strippers work efficiently on flat surfaces and carved details—apply generously, let it work according to package directions, then scrape away the softened finish with a plastic putty knife.
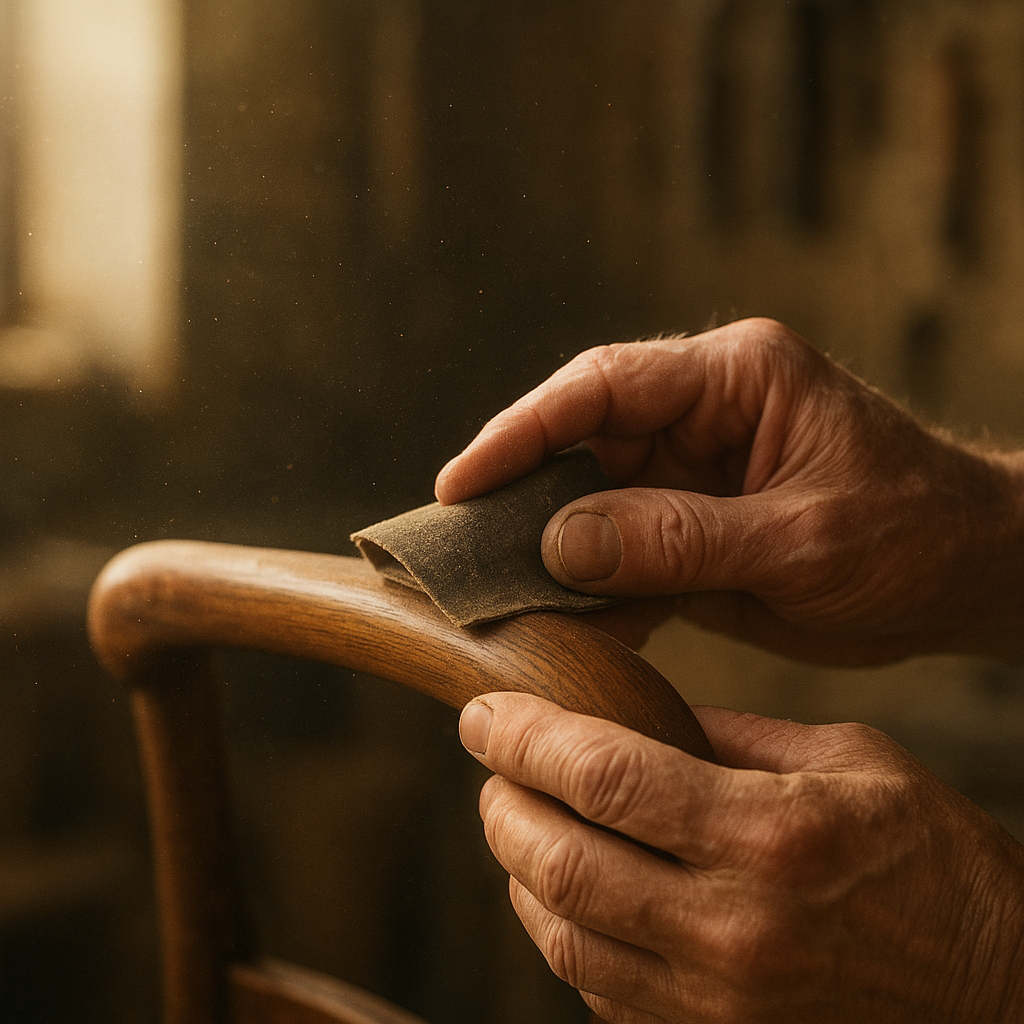
Sanding works well for lighter finish removal and smoothing surfaces after stripping. Start with coarser grits to remove old finish, then progress through finer grits for a smooth final surface. Always sand with the grain, not against it, and wipe away dust between grits to avoid scratches.
Repairing Damage
Small dents often respond to moisture—place a damp cloth over the dent and apply a hot iron briefly. The steam can swell compressed wood fibers back to level. Deeper gouges need wood filler; choose a shade close to your final finish color, overfill slightly, then sand flush once dry.
Loose joints require disassembly, old glue removal, and fresh wood glue application. Clamp everything securely and let it cure fully—rushing this step leads to joints that fail again quickly. For joints that have loosened but not separated, injecting wood glue with a syringe can work without full disassembly.
Applying New Finish
This is where patience pays off. Whether you’re oiling, staining, or painting, thin coats beat thick ones every time. Multiple thin applications build depth and durability without drips, bubbles, or uneven coverage. Sand lightly between coats with fine-grit paper for the smoothest results.
Oil finishes are forgiving for beginners—apply with a rag, let it penetrate, wipe away excess, and repeat. Each coat enhances the wood’s natural color and grain. Stains require more care to avoid blotching, especially on soft woods like pine. A pre-stain conditioner helps achieve even color. Paint offers the most dramatic transformation and lets you customize pieces to match your decor exactly.
Upcycling vs. Restoration: When to Preserve and When to Transform
There’s an ongoing debate in the vintage furniture community: should you preserve pieces in their original state, or is it okay to paint that 1960s dresser? The answer depends on the piece and your goals.
Genuinely valuable antiques—pieces with historical significance, rare makers, or museum-quality craftsmanship—deserve conservation rather than restoration. These items lose value when altered, so gentle cleaning and minor repairs that maintain original finish are appropriate. If you suspect you have something valuable, research maker’s marks and comparable sales before touching it.
But most vintage furniture, even quality pieces, isn’t museum-worthy. That mass-produced dresser from the 1970s or the table with damaged veneer isn’t going to fund your retirement. These pieces are perfect candidates for upcycling—creative transformation that gives them new life and purpose. Paint it a bold color, add new hardware, repurpose a dresser as a bathroom vanity or a desk as a kitchen island. If you’re looking for more inspiration, these simple DIY projects can help you refresh your entire space.
The sustainability win happens either way. Whether you’re preserving original walnut grain or covering damaged laminate with paint, you’re extending the piece’s functional life and keeping it out of the waste stream.
Common Restoration Mistakes and How to Avoid Them
Even experienced restorers have war stories about projects gone wrong. Learning from common mistakes saves time, money, and frustration.
Over-sanding tops the list. It’s easy to get aggressive with power sanders and remove too much material, especially on veneer surfaces. Once you’ve sanded through veneer to the substrate below, there’s no going back. Hand-sand veneered pieces or use light pressure with fine grits.
Skipping prep work causes finish failures. Paint applied over dirt or oils will peel and chip. Stain applied to wood with residual old finish creates blotchy, uneven color. Take time with cleaning and surface preparation—it’s tedious but essential.
Using the wrong products leads to disappointing results. Not all wood fillers accept stain the same way. Some finishes yellow over time. Water-based polyurethane over oil-based stain can cause adhesion problems. Read product labels, test on inconspicuous areas, and don’t mix incompatible products.
Rushing the process undermines your hard work. Finishes need proper cure time between coats and before use. Wood glue needs full clamping time. Trying to speed things up with heat or shortcuts usually creates problems that take longer to fix than doing it right initially.
The Real Cost: Budget Considerations for Restoration Projects
Restoration can be remarkably economical or surprisingly expensive, depending on your approach. Basic projects—cleaning, minor repairs, and fresh oil finish—might cost $30-50 in supplies. More complex work with stripper, stain, multiple finish coats, and new hardware can run $100-200 or more.
Compare that to buying new. A solid wood dresser from a mid-range furniture retailer costs $800-1,500, and that’s often for pieces with more veneer and engineered wood than solid construction. High-end new furniture easily exceeds $2,000-3,000. Even a $150 estate sale find plus $150 in restoration supplies gives you a quality piece at a fraction of new furniture prices, with more character and better materials.
Factor in your time, though. A simple refresh might take a weekend. Comprehensive restoration with stripping, repairs, and refinishing can consume 20-30 hours or more across several weekends. For some people, that’s meditative, satisfying work. For others, it’s time they’d rather spend differently. There’s no wrong answer—just be honest about your interest level and available time.
Styling Restored Furniture in Modern Interiors
Vintage pieces add depth and personality that new furniture can’t replicate. A restored mid-century credenza becomes a focal point in a contemporary living room. A refinished farmhouse table grounds a modern kitchen with warmth and history. The contrast between old and new creates visual interest that single-era rooms often lack.
Mix periods and styles thoughtfully. One or two statement vintage pieces per room usually works better than filling a space entirely with antiques (unless that’s specifically your aesthetic). Let restored pieces shine by surrounding them with simpler contemporary furnishings that don’t compete for attention.
Consider scale and proportion too. Vintage furniture often runs smaller than contemporary pieces—doorways were narrower, rooms were smaller, people were shorter. A petite vintage desk might work beautifully as a nightstand or entry table, even if it’s too small for modern office needs. An oversized armoire could dominate a small bedroom but shine as a statement piece in a spacious living area.
Building Your Restoration Skills Over Time
Start simple. Your first project shouldn’t be a family heirloom or an expensive antique. Pick up a basic side table or chair, something with good bones but minimal damage. Learn how wood responds to sanding, how finishes apply and cure, how to recognize when you’re working too aggressively.
Each project teaches you something new. You’ll learn which woods are harder or softer, how different finishes behave, which repairs hold up over time. You’ll develop a feel for when to strip completely versus when to work with existing finish, when to repair versus when to embrace character marks as part of the piece’s story.
Online tutorials, books, and local workshops offer structured learning opportunities. Many communities have makerspaces or tool libraries where you can access equipment and sometimes guidance from more experienced woodworkers. Antique dealers and professional restorers often share insights if you ask thoughtful questions.
The skills you build extend beyond furniture too. Understanding wood, finishes, and repair techniques translates to other home projects, from installing trim to building custom shelving. It’s practical knowledge that pays dividends across your living space.
The Lasting Value of Restored Pieces
Furniture restoration sits at the intersection of sustainability, craftsmanship, and personal expression. Every piece you restore is a small act of environmental responsibility, keeping materials in use and out of landfills. It’s a vote for quality over quantity, durability over disposability.
But beyond the practical benefits, restoration connects you to objects in ways that buying new never does. You learn the piece’s construction, understand how it was made, appreciate the craftsmanship that went into it. You make decisions about its next chapter—preserve its history or give it a fresh start. That process creates attachment and meaning that transforms furniture from mere stuff into something with personal significance.
These pieces become part of your home’s story. The dresser you found at a garage sale and painstakingly refinished, the table you rescued from the curb and brought back to life—they carry memories of the restoration process itself, along with their original history. That’s the kind of decor that truly lasts, both physically and emotionally, in ways that mass-produced furniture simply can’t match.
Leave a Reply